There comes a time in life when a fledgling Linux user takes a look at /r/unixporn and think to themselves: "Huh this desktop looks cool, maybe mine can look like that too!"

But that day is not today, as we're going to dive in head first into the rice water that is Linux Ricing, and attempt to emerge crash and jank-free.
"What does a hero distro truly need?"
We will be using Manjaro Linux today, as we get convenience of AUR packages and learning some facets of ArchLinux architecture. This is an entry-level guide, so I won't be customizing everything - That's a different guide that I may make later on.
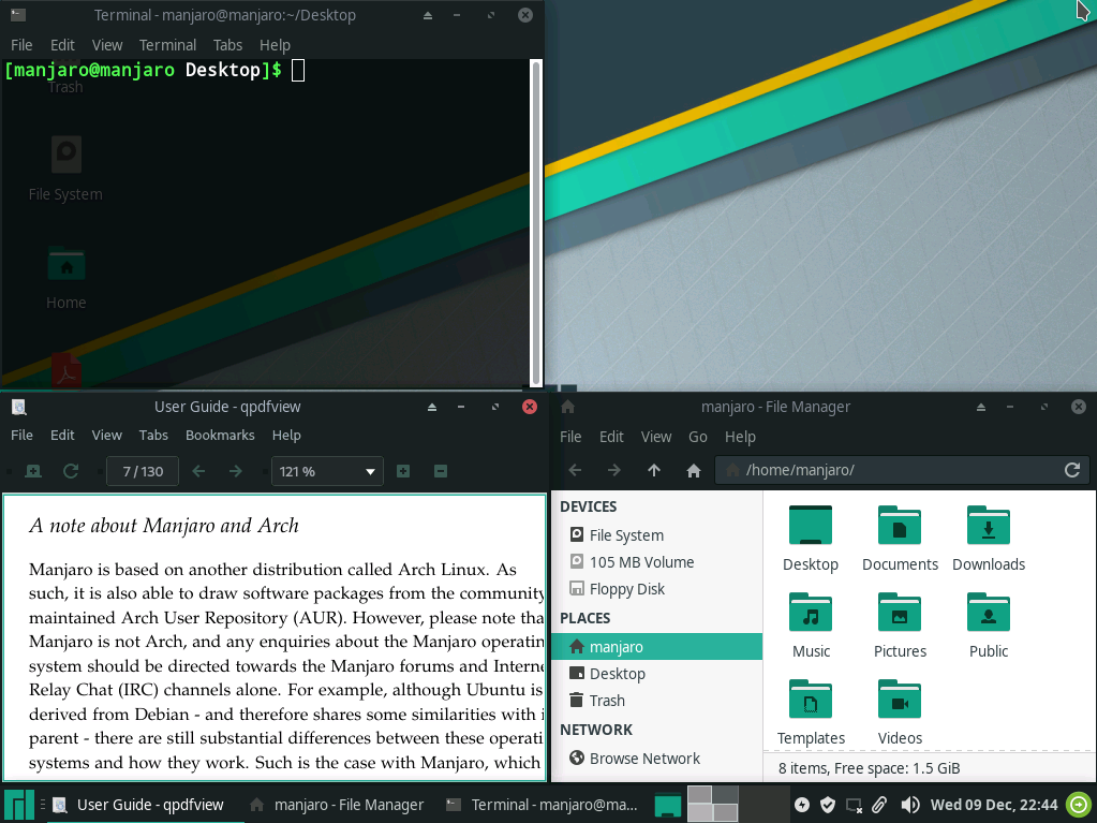
So how do we go from
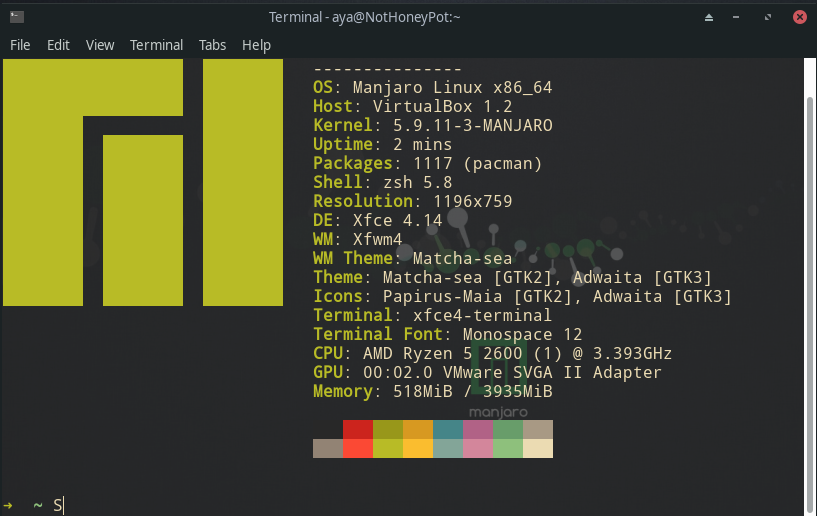
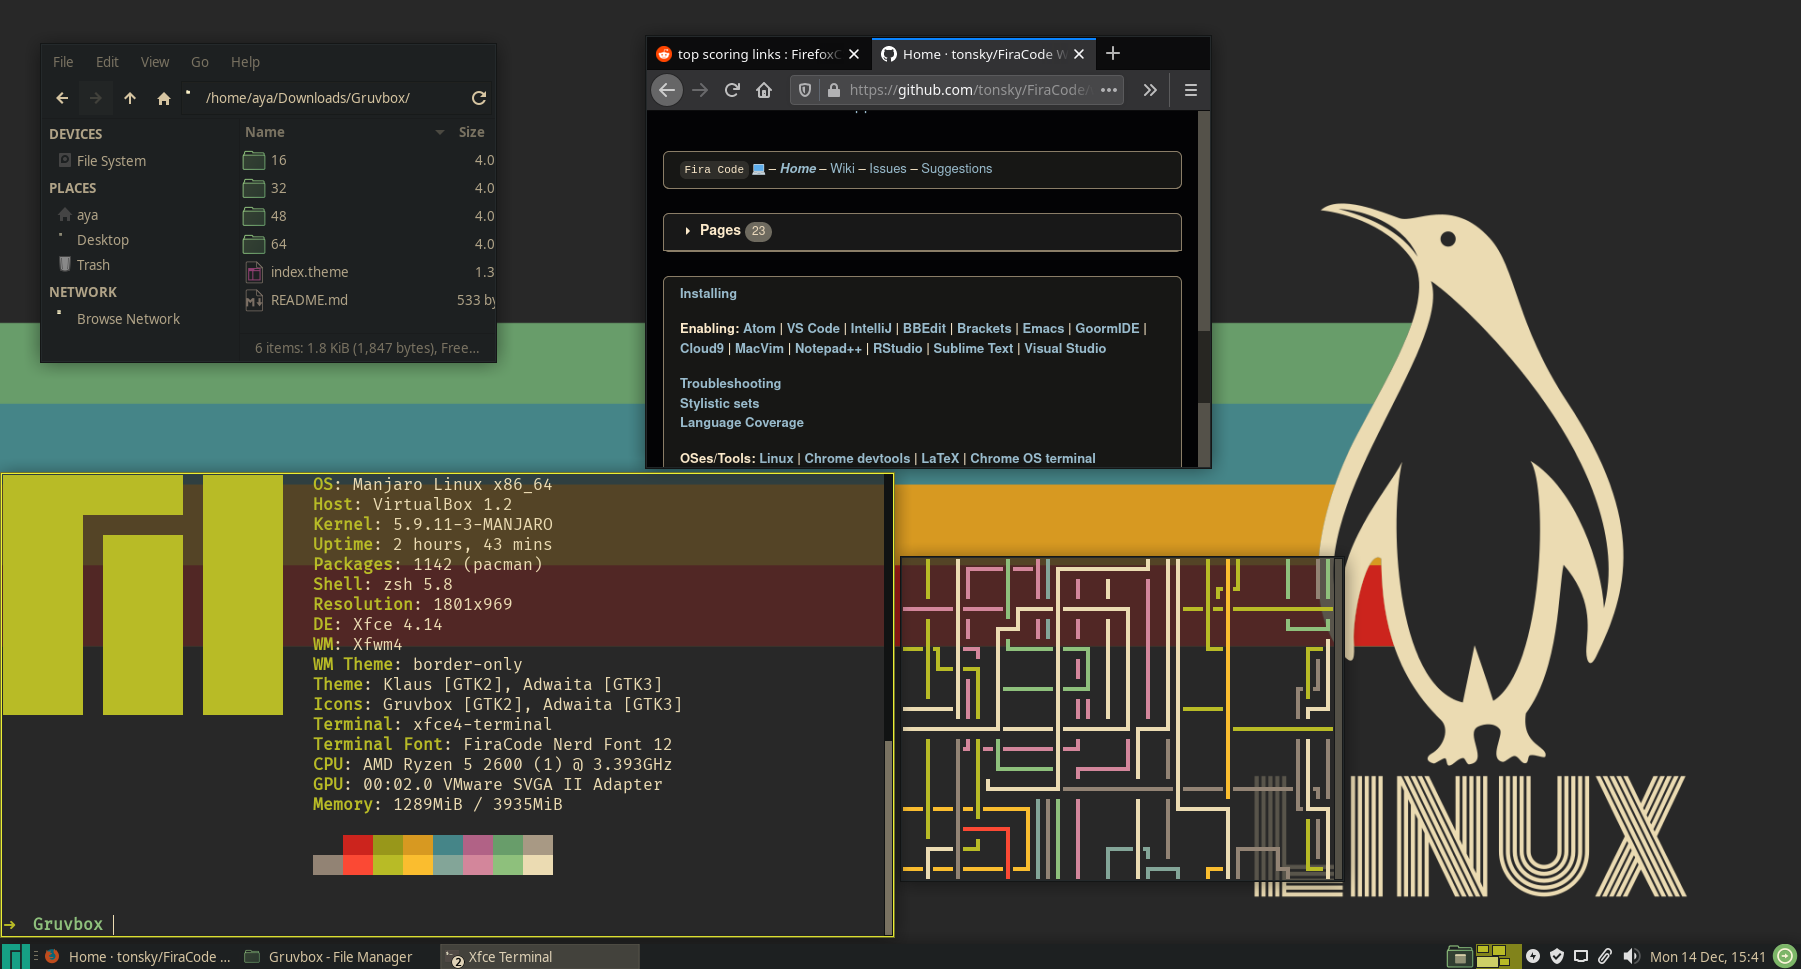
...to this (mine)?
1. What can we customize?
A few terms you should know are:
- DE: Desktop Environment - For us, this is xfce 4.14 and it'll stay xfce unless you have another preference.
- WM: Window Manager: Lots of options to choose from: bspwm, awesome, i3, openbox to name a few. Manjaro comes with xfwm4, so let's use that.
- WM Theme: More specifically, xfwm4's theme - we're using
border-only - Appearance Theme:
Klausfor colors,Adwaitafor icons (one of the defaults) - Icons: Self-explanatory
- Terminal: The default xfce terminal
- Terminal font: Fira Code Nerd Font - to allow for emoji support
We will be using the gruvbox color scheme for most of our programs: https://github.com/morhetz/gruvbox
2. Terminal
First order of business is heading to pamac-manager (Manjaro's package manager GUI), → AUR tab → enable AUR support, tick the check for updates checkbox
The Terminal will be used the most, so go to Keyboards and delete the --drop-down portion.
Then install your favorite text editor. It's vim for me:
sudo pacman -S vimNow for the actual terminal: zsh, as well as oh-my-zsh for additional styling:
sudo pacman -S zsh zsh-autosuggestions zsh-completions zsh-syntax-highlighting
sh -c "$(curl -fsSL https://raw.githubusercontent.com/ohmyzsh/ohmyzsh/master/tools/install.sh)"
Hopefully you've gone through the new user settings for zsh and make it the default terminal option.
Now for the gruvbox colors: Head to Gogh and follow the guide, or just paste this in the terminal, then pick number 63 for gruvbox dark:
bash -c "$(wget -qO- https://git.io/vQgMr)"Additional plugins for zsh (Personal recommendation)
git clone https://github.com/zsh-users/zsh-autosuggestions ${ZSH_CUSTOM:-~/.oh-my-zsh/custom}/plugins/zsh-autosuggestionsgit clone https://github.com/zsh-users/zsh-syntax-highlighting.git ${ZSH_CUSTOM:-~/.oh-my-zsh/custom}/plugins/zsh-syntax-highlightingOh-my-zsh already has some plugins to be activated. We'll activate some of those and the 2 we installed above. Go to your ~/.zshrc file and add the plugins below (git should already be activated)
plugins=(
    git
    history-substring-search
    colored-man-pages
    zsh-autosuggestions
    zsh-syntax-highlighting
)
We're done with the terminal for now. Hide the menubar if you want
Bonus:
Download and use a Nerd font to get emoji support in terminal (Fira Code in my case):
wget https://github.com/ryanoasis/nerd-fonts/blob/master/patched-fonts/FiraCode/Regular/complete/Fira%20Code%20Regular%20Nerd%20Font%20Complete.ttf
sudo cp Fira\ Code\ Regular\ Nerd\ Font\ Complete.ttf /usr/share/fonts/
fc-cache
3. WM (Window Manager) + (WM/Appearance) Theme
Once again, this is an entry-level guide so we won't change the WM for maximum comfort of our noobie. Normally we'd be using something like bspwm or i3.
WM Theme:
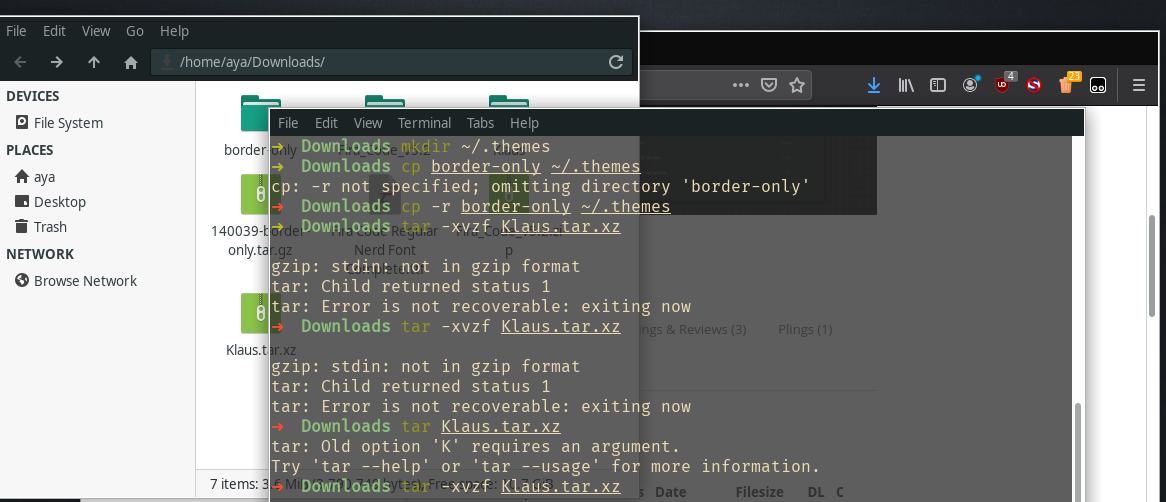
Since we want to look like we're using a tiling manager, we can use the border-only theme to achieve almost the same effect.
- Download and extract the pack with
tar -xvzf <downloaded-file> - Move the extracted dir to
~/.themesdir withcp -r <border-only-dir> ~/.themes(create the directory if it's not there already) - Head to Window Manager aka
xfce4-settingsand change the WM Theme to border-only. Your windows should look like below
Now that you can't use your mouse to maximize/minimize your windows, head to Window Manager to make a few shortcuts that you can remember. Some suggestions:
Maximize Window -> Super + F #Full Window
Hide Window -> Super + S #Small
Move Window -> Super + M #Move
Resize -> Super + R #Resize

Tile Window to the top -> Super + Up
#Down Left Right as needed
Tile Window to top-left -> Super +Y
#top-right = U, bottom-left = B, bottom-right = N because vimkeys
WM Appearance:
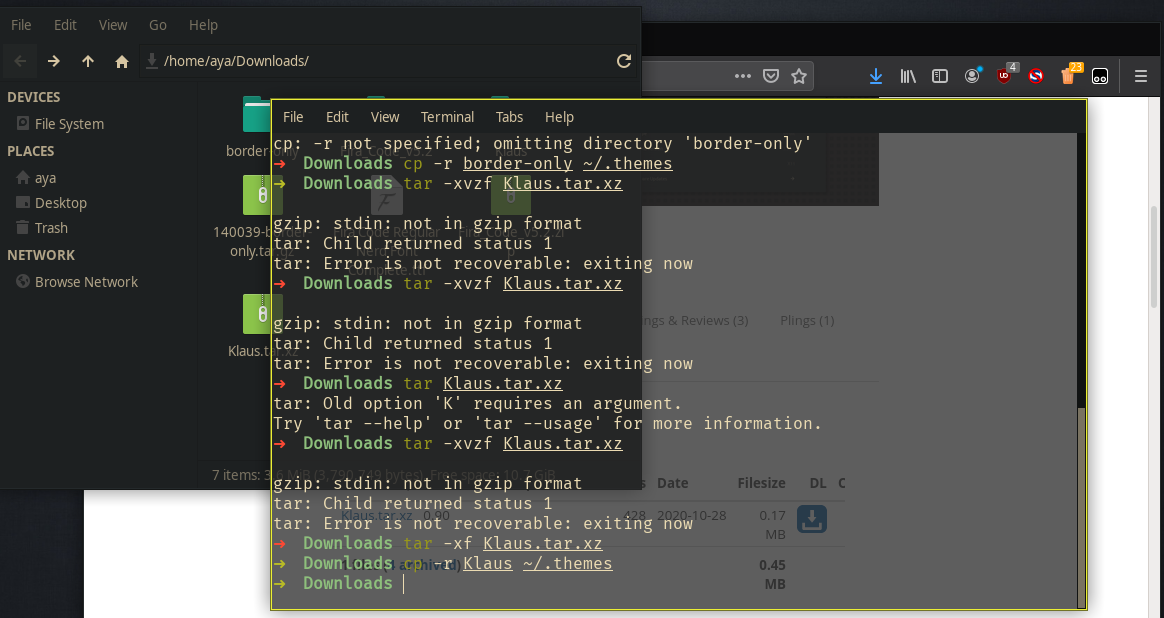
xfce splits between colors and style and since we just got done with style, it's time for colors:
- Download Klaus and extract with
tar -xf <dled-file> - Copy Klaus to themes directory:
cp -r <klaus-dir> ~/.themes - Head to Appearance aka
xfce4-appearance-settingsand change the Theme to Klaus. Your windows should look like below
4. Icons
Since we're fully committing to gruvbox:
- Head to the Gruvbox icon theme page and download the file. Extract with
tar -xf <file> - cp Gruvbox to icons directory:
cp -r <gruvbox-dir> ~/.local/share/icons - Head to Appearance aka
xfce4-appearance-settingsand change the Icons to Gruvbox. Your windows should look like below
5. Result
Don't forget to pick a nice wallpaper!
5. Wrap-up
You might have noticed I left the panel bar intact. This is because you have a choice:
- Stay in entry-level and customize the default xfce bar as much as you can
- Go deeper into the world of Ricing and customize your own bar, using polybar or lemonbar
I consider the bar to be the easiest and safest to customize since you always have the default bar to come back to. It's always good to start here and move on to application-specific rice when you're done.
6. Application-specific rice?
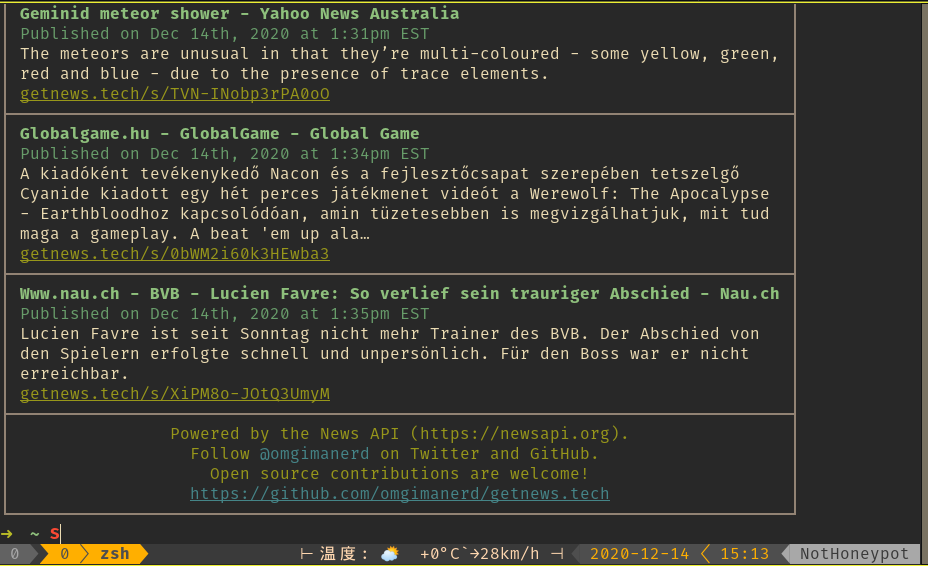
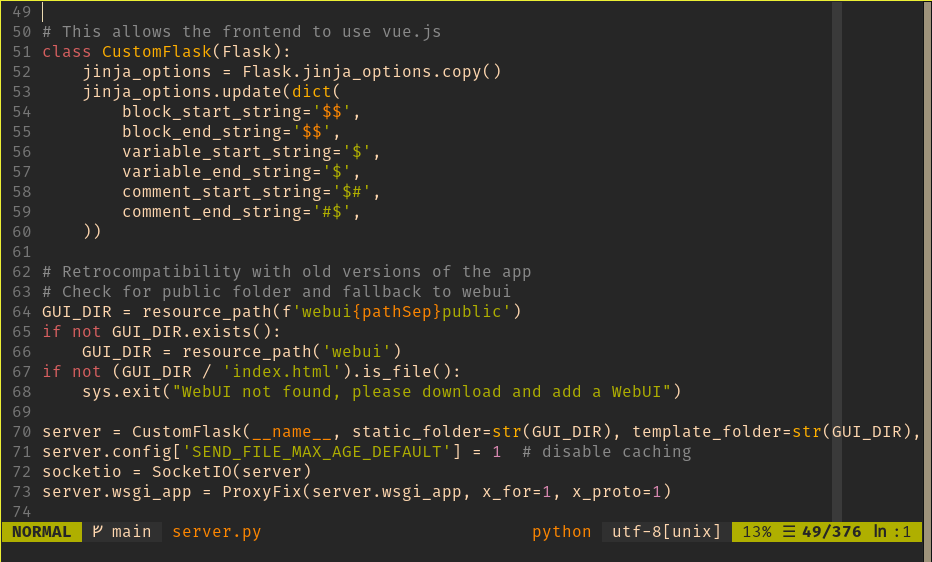
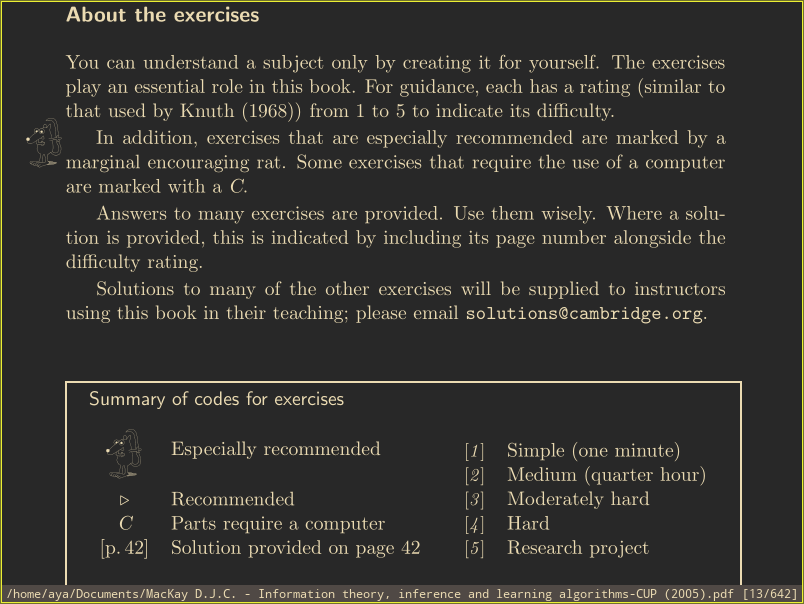
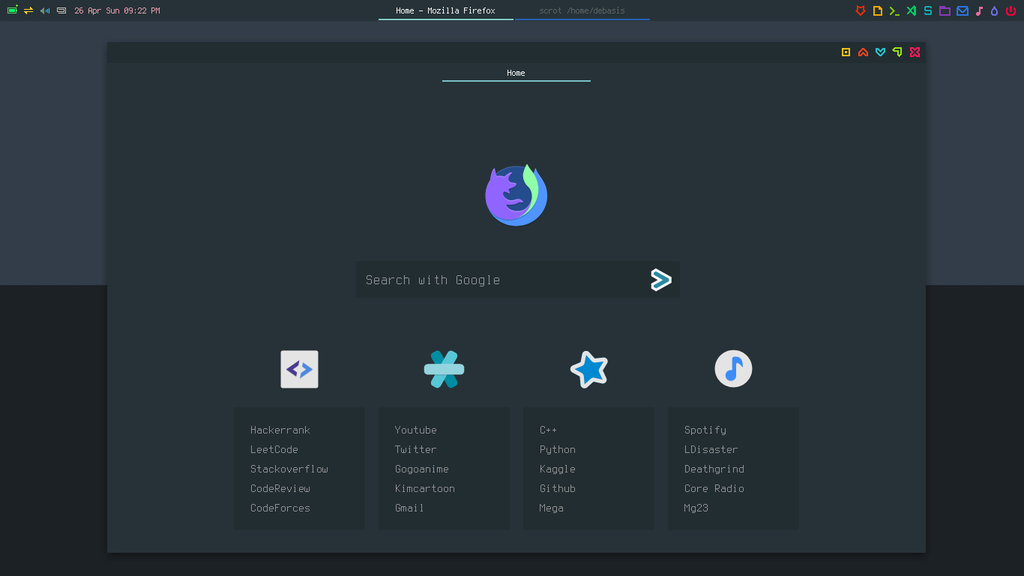
Of course. Stuff like vim or tmux have been the subjects of ricing since forever. Here are some examples for you to consider. 3 out of the 4 are what I'm currently using
Tmux
Vim
Zathura
Firefox (post)
Good luck and have fun. Message me on github (/aptrinh) if you need help.

