Hi there! This blog was made from converting almost all elements from a Notion page (.JSON) cache into a static webpage served by Github Pages. The bulk of the work is done by Alex Wang's Notablog.
chorale.app is a faster alternative but I haven't used it. Go try and see which one you like more! Update: That project is dead, apparently. Notablog still the best for now
Context
Notion's personal plan went free recently, which means people will inevitably figure out a way to make websites with it and some kind of CMS in-between. The problem is that depending on what you use it for, Notion isn't exactly a good solution for 1:1 content mirroring with speed in mind:
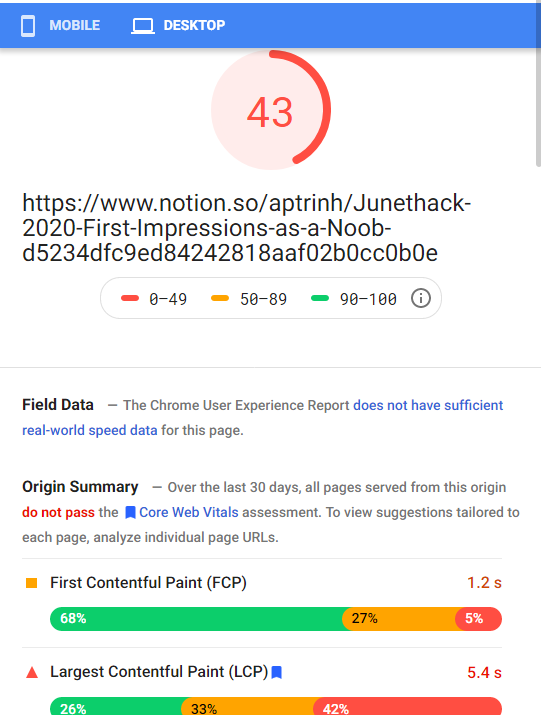
Sure enough, when I tested one of my Notion pages with Google's PageSpeed, its scores plummeted to the depths of performance hell.
This is a terrible way to build a website, so let's look at Notablog: Link
For full instructions, please look at the repo itself. I'll post a short version here from the README
Prereqs:
Make sure you have Node.js v12.0.0 or higher. Check with command node -v
- Install Notablog
npm i -g notablog - Clone the notablog-starter repository
- Duplicate this Notion table template
- Make the table you've duplicated public and copy its URL for the next step
- Go into
notablog-starter/directory, openconfig.json. Replace the value of url with the URL of the table you've duplicated and the browser you use - Inside
notablog-starter/directory, run commandnotablog generate . - After it finishes, go to
notablog-starter/public/directory, open index.html with a browser to preview your site or usenotablog preview <path_to_the_notablog-starter>
Your website is ready!
The content of notablog-starter/public/ should be uploaded to a server, or any static hosting service. In my case, I use Github Pages. Go ahead and set up the repo according to their guide. I use git-bash for version control, as an aside.
What each box does
| Column name | Property type | Desc |
|---|---|---|
| title | Title | The page title. |
| tags | Multi-Select | Topics related to the page. |
| publish | Checkbox | Determine if a page should be rendered. |
| inMenu | Checkbox | Determine if a page should appear in the navigation bar. |
| inList | Checkbox | Determine if a page should appear in the article list. |
| template | Select | Specify which template to use for the page. Available template names depend on the theme you use. |
| url | Text | A string to be used as the filename and the URL of the generated page. It should not contain / and \. If it's empty, the id of the page is used. |
| description | Text | Short intro of the page. Styles are working. |
| date | Date | User customizable date, convenient for importing posts from other platforms or adjusting the order of posts. |
Editing the theme
If you want to change elements of the site, notablog.css and theme.css are the two files you should be looking at. Be sure to edit the ones that are in the notablog-starter/themes/pure-ejs/assets/css folder, not the ones in your "public" folder
Workflow
Below is how I edit and upload my blog posts
- Create a new row inside the duplicated public table, create a tag if necessary and add it along with any other info. Keep all checkboxes unchecked
- Edit my post. When I'm done, check public and inMenu boxes
- Open terminal/console/CMD and/or navigate to
notablog-starterfolder and typenotablog generate .
- Preview the file. If everything looks great then commit → push everything to your github repo. Otherwise edit the blog post then generate again to your heart's content. Normally it's just a mix of
git add -u OR git add <file>
git commit -m "Fixed etc..."
git push
Epilogue
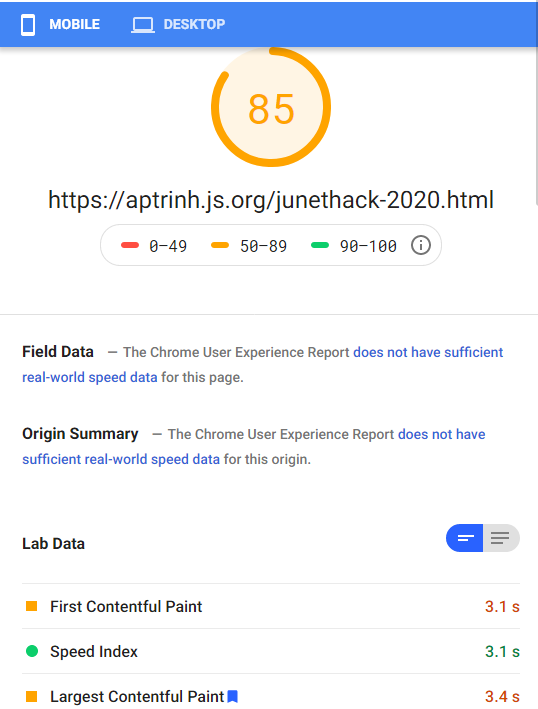
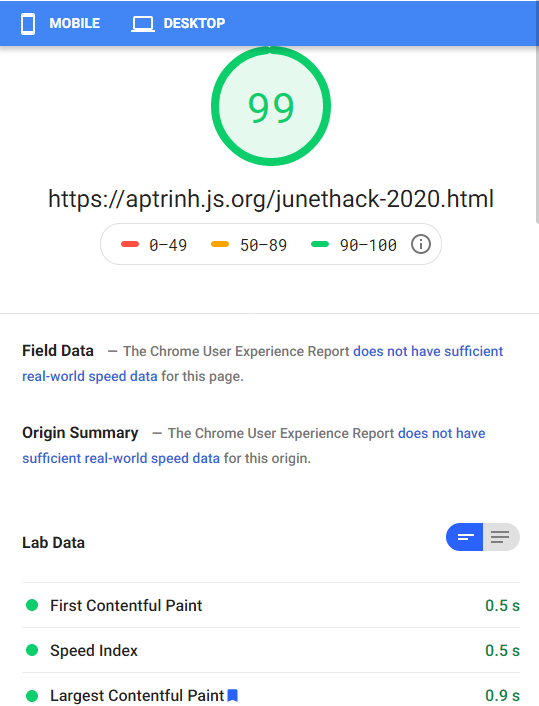
Performance turned out to be pretty good:
If you want to change anything related to the html/css, head to notablog-starter/themes and tweak the files inside
And that's all it is - this post is long-winded, but the gist of the workflow is above. The longest step is just setting up your repo and if you're familiar with git and Github in general, you should be fine.
Please contribute to the Notablog project if you want to see more things added in the future!
Or you can just use chorale.app - I've heard great things about it!
Changelog:
10/01/21: Added theme edit section


